
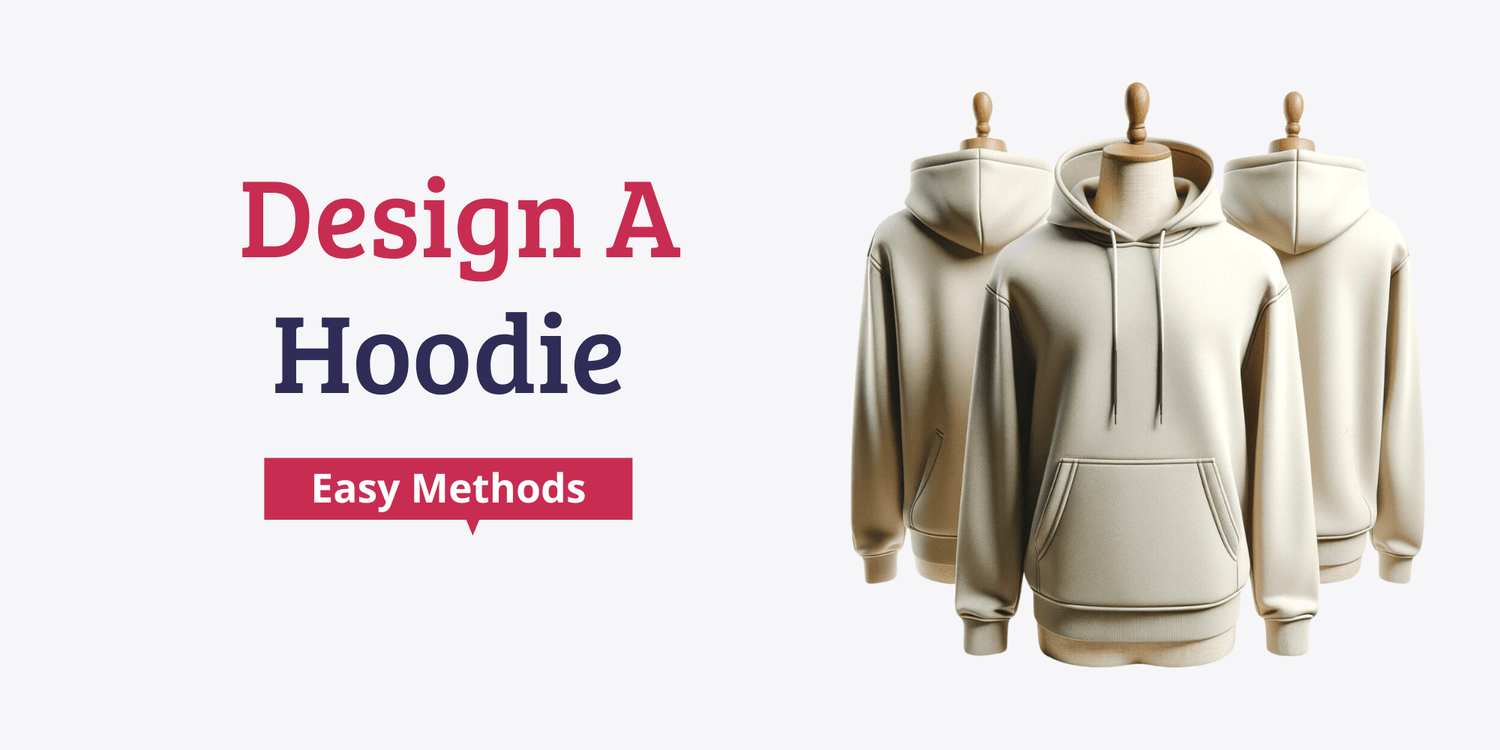
Creating a custom-designed hoodie is not just a fashion statement; it's an expression of your personality and creativity. Whether you opt for hand-painting, digital printing, or embroidery, each method offers its own unique set of advantages and artistic challenges. This guide aims to arm you with the essential knowledge and step-by-step instructions you need to bring your vision to life. Get ready to unleash your creativity and wear your art proudly!
Why Design Your Own Hoodie?
Designing your own hoodie is more than just an exercise in creativity; it's a way to put your personal stamp on one of the most versatile pieces of clothing you'll ever own. By customizing your hoodie, you're given free rein to express your individual style, beliefs, or even represent a cause you're passionate about. Think about it: when you wear a one-of-a-kind hoodie that you’ve designed, it turns an everyday item into something meaningful.
Moreover, designing a hoodie allows you to make something that perfectly suits your preferences and needs. Whether you're an aspiring artist looking to showcase your talent, a small business owner trying to spread brand awareness, or simply someone who loves unique fashion, a custom-designed hoodie can serve many purposes. With the myriad of design techniques available, from hand-painting to digital printing and embroidery, you're limited only by your imagination
Gathering the Essentials for Your Journey
Before diving into the exciting world of hoodie design, it's crucial to assemble all the tools and materials you'll need for your project. Having the right items at your fingertips will streamline the process and make your design experience much more enjoyable. Here's a handy list to get you started:
- Plain Hoodie: A blank canvas, if you will, upon which you can let your creativity shine. Choose a high-quality, comfortable hoodie that suits your design method.
- Fabric Paints: If you're going the hand-painted route, fabric paints are a must. These come in various colors and finishes to match your vision.
- Digital Design Software: If you're creating a design to be printed, software like Adobe Photoshop or Illustrator will be essential for producing high-resolution images.
- Printer and Transfer Paper: For digital designs, you'll need a quality printer and special transfer paper compatible with fabric.
- Prototyping Material: Having some fabric scraps or a test garment can help you trial your design before finalizing it.
- Embroidery Thread and Needles: For embroidered designs, make sure you have embroidery thread in colors that complement your hoodie.
The Art of Picking the Perfect Hoodie Material

When it comes to designing your own hoodie, the hoodie fabric you choose plays a pivotal role not just in comfort, but also in how well your design will turn out. Cotton is a popular choice for its breathability and softness against the skin. It's an excellent canvas for hand-painting and embroidery, absorbing colors well for a vibrant finish. However, keep in mind that cotton can shrink in the wash, so pre-shrinking your hoodie or opting for a cotton-polyester blend may be wise.
On the other hand, polyester is durable, less prone to wrinkling, and often more budget-friendly. It's particularly effective for digital printing techniques, as it holds color well without bleeding. However, it's not as breathable as cotton, which might be a consideration if comfort is a high priority for you. Ultimately, the material you choose will be a balance between comfort, appearance, and the type of design technique you plan to use.
Method 1: Digital Designs and Printing

If you're tech-savvy or simply want to take a more modern approach to hoodie design, digital design and printing might be the route for you. This method allows for intricate designs and color schemes that are hard to achieve by hand. With the right software and equipment, your possibilities are almost limitless. Here's a step-by-step guide to bring your digital masterpiece to life:
Step 1: Choose Your Software
Opt for a digital design software like Adobe Photoshop or Illustrator to create your design.
Step 2: Sketch or Import Design
Draft your design in the software or import pre-made elements like images and vector graphics.
Step 3: Finalize the Layout
Make sure everything is positioned exactly where you want it on the hoodie's template within the software.
Step 4: Test Print
Do a test print on paper to make sure the colors and dimensions meet your expectations.
Step 5: Prepare the Hoodie
Make sure your hoodie is clean, wrinkle-free, and ready for printing.
Step 6: Print the Design
Use a high-quality fabric printer to print the design onto special transfer paper.
Step 7: Heat Transfer
Place the printed transfer paper onto the hoodie and use a heat press or iron to transfer the design onto the fabric.
Step 8: Peel and Reveal
Carefully peel off the transfer paper to reveal your printed design.
Step 9: Post-Printing Care
Follow any specific washing or maintenance instructions to ensure the longevity of your printed design.
Method 2: Embroidery
Embroidery brings a touch of elegance and timelessness to your custom hoodie. With textured, intricate patterns, embroidered designs offer a tactile depth that other methods can't match. Not only does embroidery look stunning, but it's also incredibly durable, making your hoodie stand the test of time. Ready to dive in? Here are the essential steps to get you started:
Step 1: Choose Your Design
Decide on a design that is not too intricate for embroidery, given its limitations compared to other methods.
Step 2: Gather Materials
Have embroidery thread, needles, and a hoop ready.
Step 3: Prepare the Hoodie
Stretch your hoodie fabric within an embroidery hoop to keep it taut while you work.
Step 4: Trace or Stencil
Use chalk or an erasable fabric marker to trace your design onto the hoodie.
Step 5: Thread the Needle
Thread your embroidery needle with the color you want to start with, and knot the end.
Step 6: Start Stitching
Begin your embroidery, carefully following the lines of your traced design.
Step 7: Secure and Cut
Once your design is complete, make sure to secure the ends of the thread neatly at the back of the fabric.
Step 8: Remove Excess Marks
Use a damp cloth or fabric eraser to gently remove any remaining chalk or marker lines.
Method 3: Hand Painted Designs

There's something uniquely satisfying about painting by hand—it gives you a tactile connection to your work and results in a one-of-a-kind masterpiece. Hand-painting your hoodie is not just artistic but also incredibly personal. Each brushstroke reflects your style and creativity, making your hoodie truly unique. Here are the steps to guide you through this creative journey:
Step 1: Prepare Your Workspace
Lay down a protective cover on your work surface and keep all your painting supplies within easy reach.
Step 2: Prewash the Hoodie
Wash your hoodie to remove any sizing and allow for any shrinkage that might occur.
Step 3: Sketch Your Design
Use a pencil or chalk to lightly sketch your design onto the hoodie, providing a guide for your painting.
Step 4: Set Up a Barrier
Insert a piece of cardboard inside the hoodie to prevent paint from bleeding through to the other side.
Step 5: Start Painting
Begin applying your fabric paint, taking care to follow your sketch lines and fill in your design as you go.
Step 6: Let It Dry
Give the paint adequate time to dry. Check the instructions on your fabric paint for specific drying times.
Step 7: Heat-Set the Design
Use an iron to heat-set the paint, ensuring its longevity and durability.
Step 8: Final Wash
Once everything is set, wash the hoodie gently to remove any chalk or pencil marks and to test the design's durability.
Don't Skip the Final Touches and Precautions
After putting in the hard work and creativity into designing your hoodie, it's crucial to wrap up the project properly to ensure the longevity of your masterpiece. Whether you've hand-painted, digitally printed, or embroidered your design, always follow the aftercare steps recommended for your chosen method. For instance, if you've used fabric paint, heat-setting your design ensures that it won't fade or wash away. Similarly, digital prints may require specific washing instructions to maintain their vibrancy over time.
Safety precautions are equally vital in the process of hoodie design. Always work in a well-ventilated area when using fumes-emitting materials like fabric paint or solvents. If you're employing a heat press for digital designs, adhere to the recommended temperature settings and use heat-resistant gloves to avoid accidental burns. For embroidery enthusiasts, keeping your needlework tools organized and out of the reach of children is a good habit to cultivate. It's also important to be informed about the best ways to wash your hoodie.
Conclusion
Completing a custom hoodie project is an incredibly rewarding experience. The beauty of it lies in the details, from choosing the right material to picking the ideal design method. Don't skip the final steps and precautions; they're essential for ensuring the longevity of your artistic endeavor. Whether you're making a hoodie for yourself or as a unique gift for someone special, you're now armed with all the knowledge you need for a successful project. Time to get designing!